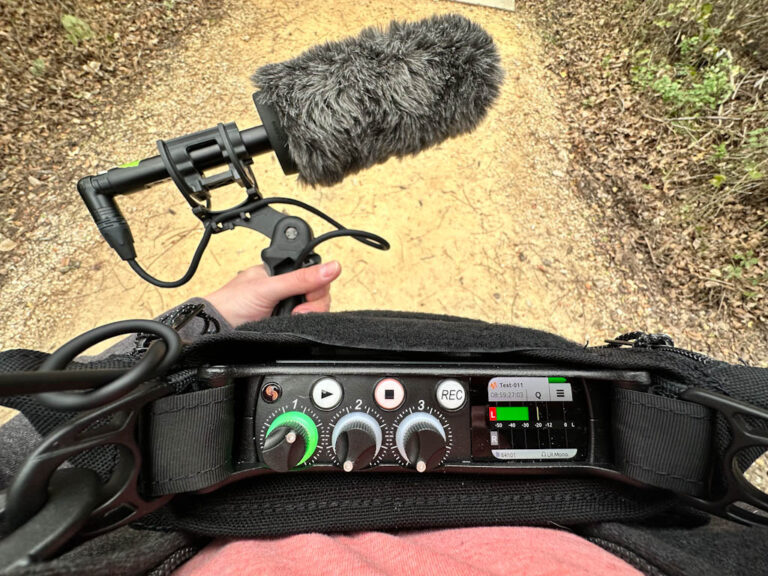

I recently upgraded from the Zoom H4N to the Sound Devices MixPre-3 II recorder in my birdsong gear setup. This post is from the casual hobbyist perspective and will share my initial experience with the device and a few recordings I’ve captured.
2026 update: I have since recorded with a parabolic dish for the last 1.5 years. Check out these posts:
Recordings birds with a parabolic microphone
100 Bird Songs & Counting: My First 7 Months with a Parabolic Mic
The MixPre-3 II was the #1 recorder recommendation by the good folks at Cornell Lab of Ornithology in their 2019 gear guide. That, combined with the features and usability of the device, made it an easy choice.
32-bit float
The main draw of this recorder is it records in a new format called 32-bit float. Without getting technical (not my area of expertise anyway) it makes recording easier. It does this by recording in a way that avoids the audio clipping (getting too loud for the recording level [gain] you have set).
What this means is you don’t really need to adjust the mic’s sensitivity while you’re out in the field. This helps because then you can just focus on aiming the mic and pressing Record. No double-checking recording levels.
The audio file can be adjusted after in your editing software to bring it to normal listening levels without impacting the quality.
2026 update: I now use the Zoom F3 recorder. It’s much smaller, and takes fantastic 32-bit float recordings. Read: 100 Bird Songs & Counting: My First 7 Months with a Parabolic Mic
Time for a field test
I spent the last few days trying out the new recorder in a few different areas around the city to get comfortable with it and to see how well it performs with my shotgun microphone (Sennheiser ME66, similar to a Sennheiser MKE600). A shotgun microphone, while directional, may pick up ambient noises like the rush of a distant highway or other birds. For the cleanest recordings, a parabolic microphone combined with a recorder like this will get you there.
Prior to heading out on my first recording trip, I set up the MixPre-3 according to Macaulay Library’s setup guide. This helped it be configured in an ideal way to record birds in the field. It’s a complex device and I wouldn’t have easily figured it out without some help.
These recordings have all been normalized to -3dB and a high-pass filter of 250Hz has been applied to gently reduce the lowest frequencies prior to archiving in the Macaulay Library.
Cedar Waxwings
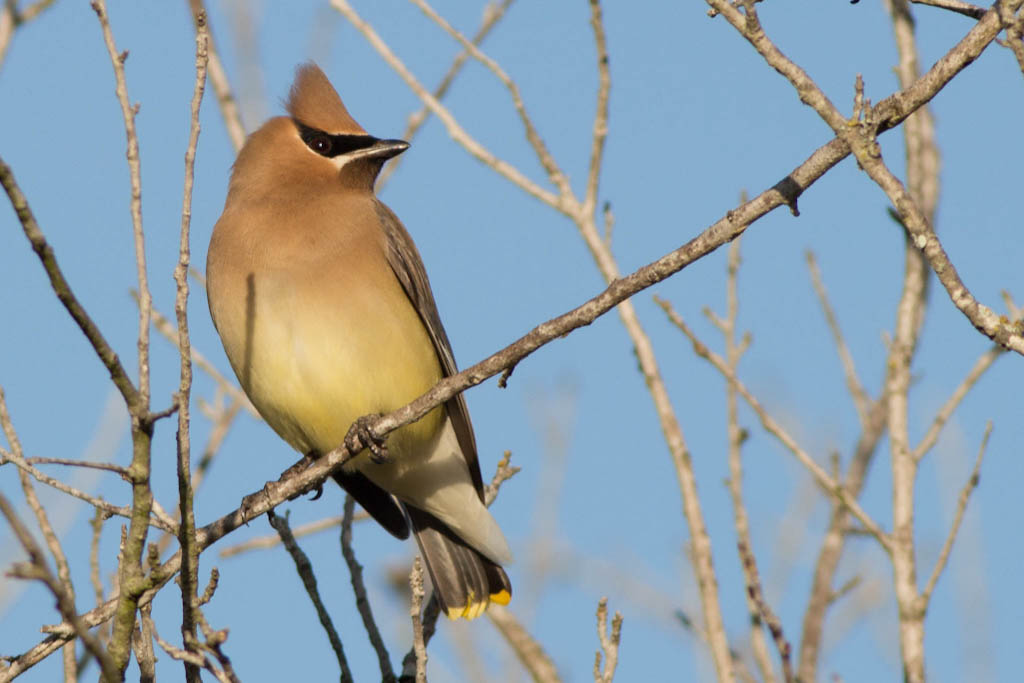
This is a recording of around three Cedar Waxwings singing in a tree directly above me about four meters away.
Carolina Wren
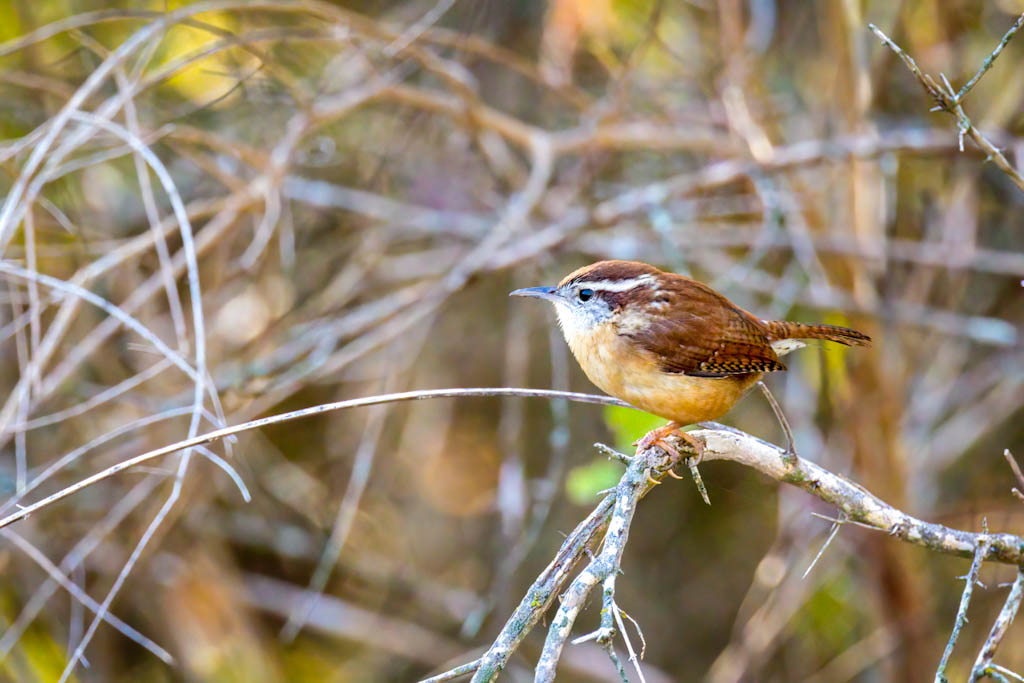
This Carolina Wren was singing in a bush off of the trail about six meters away.
Northern Cardinal calls
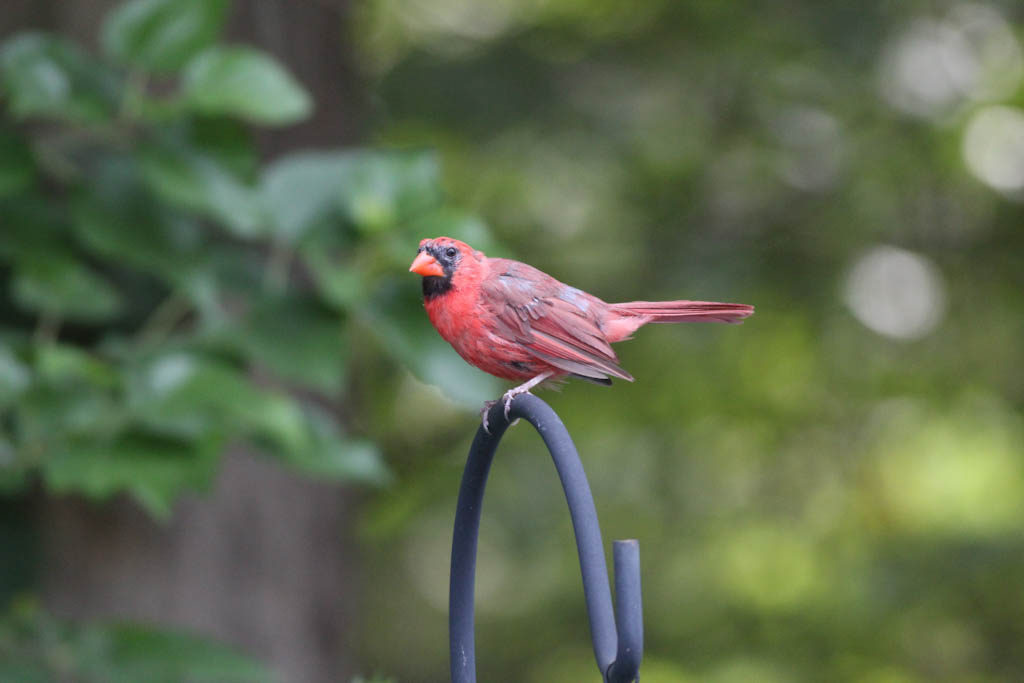
Here is a clean recording of two Northern Cardinals calling.
Red-shouldered Hawk cries
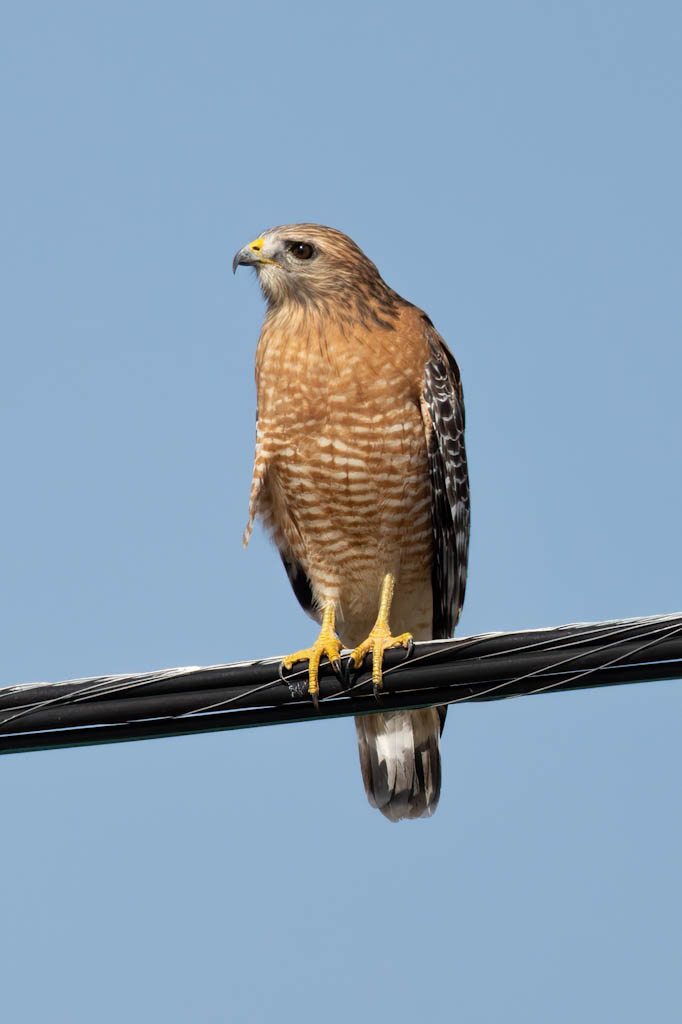
There was a lot of commotion at Medina River with the hawks and crows. I couldn’t get a good visual on the hawk during this recording but I’d guess I was at least 30 meters away.
A flock of Killdeer
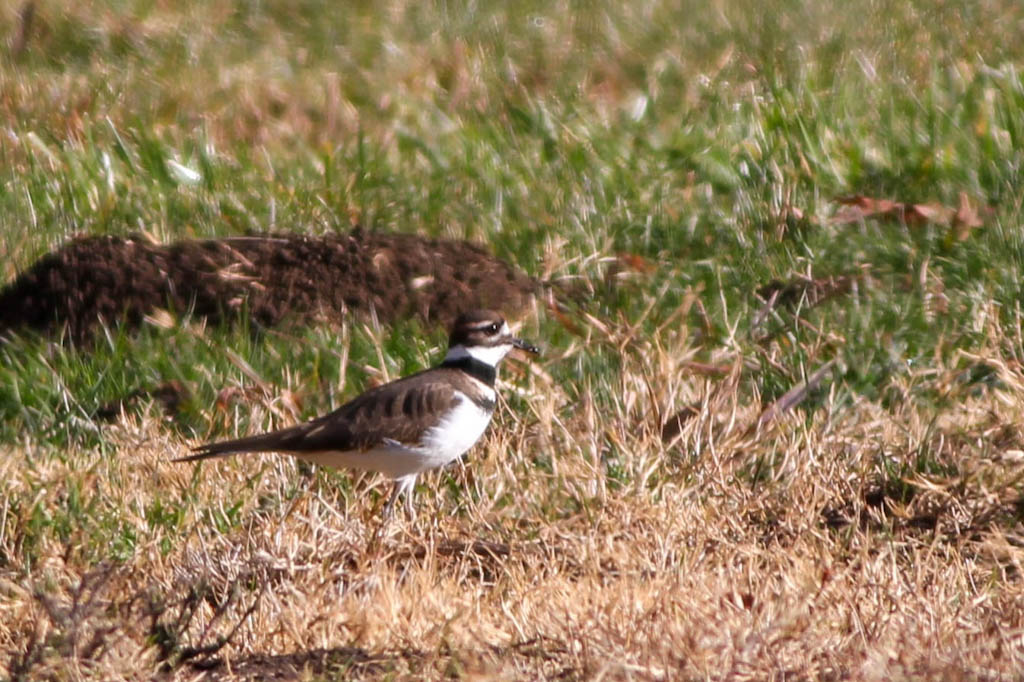
These Killdeers were flying in a flock of around 25 over farmland while calling. These birds were much further away than the above subjects but their calling was so fun I had to include it.
Worth it for the float
My experience with the device is that I felt more confident and relaxed while recording. This is due to the insignificance of the gain setting (thanks, 32-bit float!) and the simple buttons on the device. Play ▶️, Stop ⏹️, Record ⏺️, these are the only buttons on the top of the MixPre-3. It’s a refreshing change from my Zoom device which was much busier button-wise.
If you’re considering adding the MixPre-3 II to your recording setup, I suggest looking at the essentials kit on B&H, it comes with the custom bag and all the accessories you realistically need.
Did you notice a huge jump in sound quality from H4n to Mixpre?
Yes, the difference is noticeable to me. But the main draw, is that it takes away all the fidgeting with the gain. I like to just point and record. The ease of use motivates me to record more. So, for me it was worth it!
Hi Jeff, Thanks for the article. What gain setting did you use to start with (one that you did not have to adjust later in the outing)? Also, I have found that even though the recorder can handle the ‘signal’, the mic can be ‘over-powered’ to distortion. Comments? Thank again, Nick
Thank you for reading! You shouldn’t be getting any clipping/distortion after editing the file. Double check the recorder’s current settings to ensure it’s recording in 32-bit float. I’m curious what microphone you’re using.
Are you using Audacity to edit/review the clips or another program?
If the raw audio clip has clipping, you should be able to open it in Audacity and adjust the loudness (gain) by choosing Effect > Volume and Compression > Normalize and set it to -3.0dB and it hopefully will stop the distortion. Let me know if that helps!
Hi Jeff!
What kind of bag/case and strap do use for the Mixpre?
// Jonas
Hi Carl,
I use a Strut field case. I believe it was included in a bundle I got from B&H Photo for the recorder.