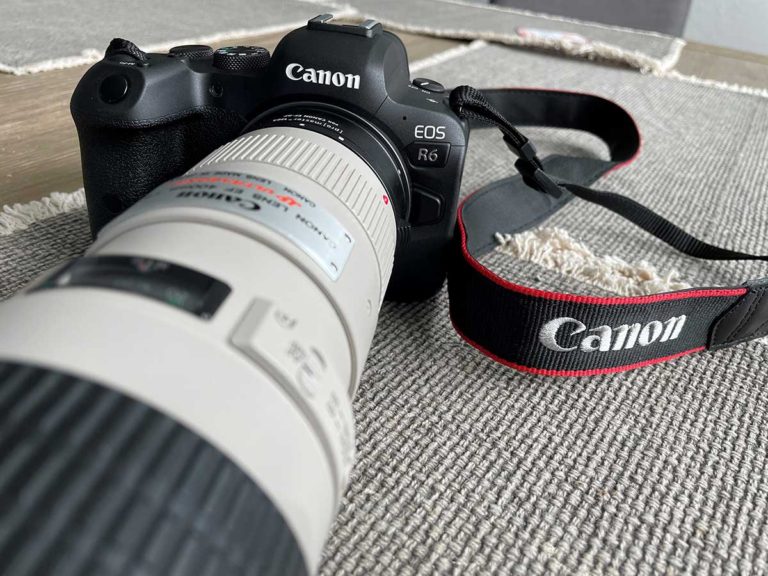
Up until recently, I’ve always shot in Aperture Priority (Av) mode. That’s what I was taught when I first started using a DSLR and what I’ve always stuck with. It wasn’t until recently when a friend was convincing me of the non-scariness of Manual (M) mode that I decided to do some research and give it a try.
There is a very technical understanding of how to use Manual, and then there is a practical understanding that you can start with and build upon as you feel comfortable adjusting more settings as you gain experience. Here are a quick few things I learned that helped with my transition to shooting Manual.
What made shooting Manual easier for me was realizing a few things:
Shooting on manual doesn’t always mean changing a million camera settings in the field
This was the mindset I had going into shooting manual. There are three main things you can control while in Manual: ISO (the amount of light), shutter speed (how quickly the camera takes a photo), and aperture (how wide open the lens is). In reality, when I am shooting Manual, I’m really only mainly changing one setting: the shutter speed using the top camera wheel. The other two settings remain almost untouched on my trips. This is because I have the ISO set to auto and the aperture as open as it can be (5.6 in my lens’s case).
Your only setting to manage: the shutter speed
I manage the shutter speed in the following way: when I’m trying to capture fast action, I’ll crank the shutter speed way up into the thousands to freeze fast movement. When capturing still or slow-moving subjects, I’ll bring the shutter speed down to the minimum recommended for my lens which is 1/500 second (because I’m using a 100-500mm lens). The more you experiment with this setting the better you’ll understand how fast or slow to set it.
The benefit of a mirrorless camera when shooting Manual
I’ve recently transitioned to shooting with a mirrorless camera from a DSLR. Mirrorless cameras don’t contain a direct view through the lens in the viewfinder. Instead, they offer an electronic viewfinder (EVF). The benefit of this is it displays exactly what the captured image is going to look like. It takes into account all of the current settings of the camera and you’ll know if you need to adjust a setting to get a better photo. In our case, we may need to bring the shutter speed down in a shady area to let more light in per photo, resulting in a brighter image. See this swan in a shaded area I captured at 1/400 second.
Take your focus to the next level with Dual Back-button Autofocus
While not directly related to Manual mode, being able to get great focus on your subject is key. The Animal Eye Autofocus on the Canon R6 camera is ideal because it locks its focus onto the eye of its target. Unfortunately, it doesn’t always work as intended. That’s why it’s a great idea to be able to easily use either regular autofocus or Animal Eye autofocus without having to dig through the settings every time. This is where dual back button autofocus comes into play. It gives you the ability to use two different buttons on the back of the camera to focus on the subject instead of using the shutter button. One button does regular autofocus and the other does AE Autofocus. I followed this video to learn how to set it up.
Learning to shoot manual can seem like a daunting task so hopefully, some of the thoughts above make it seem a bit more manageable and worth trying out.
