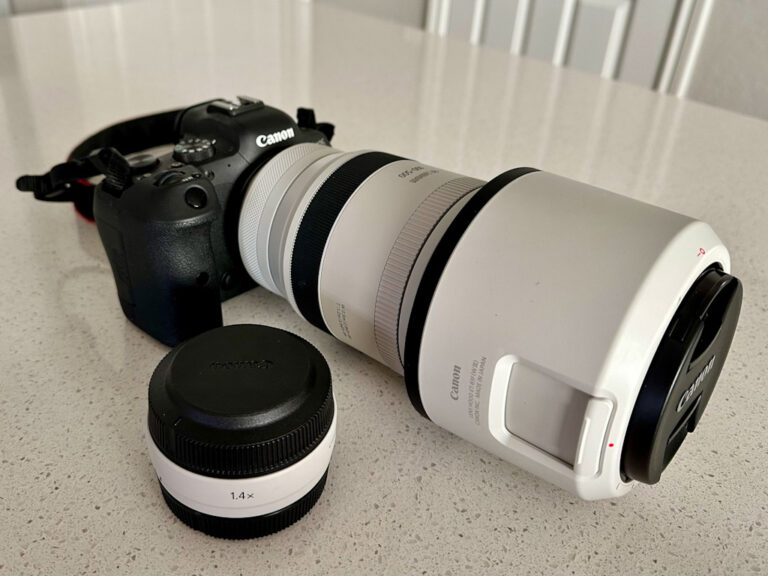
I spent my first nine years as a hobby photographer with my original Canon camera setup, a Rebel T5i and EF 400mm lens. Earlier this year I upgraded my equipment to Canon’s mirrorless lineup and RF lens line. I‘m not a spec expert, but I’ll share why I selected each piece and what I appreciate.
What’s in my bird photography setup
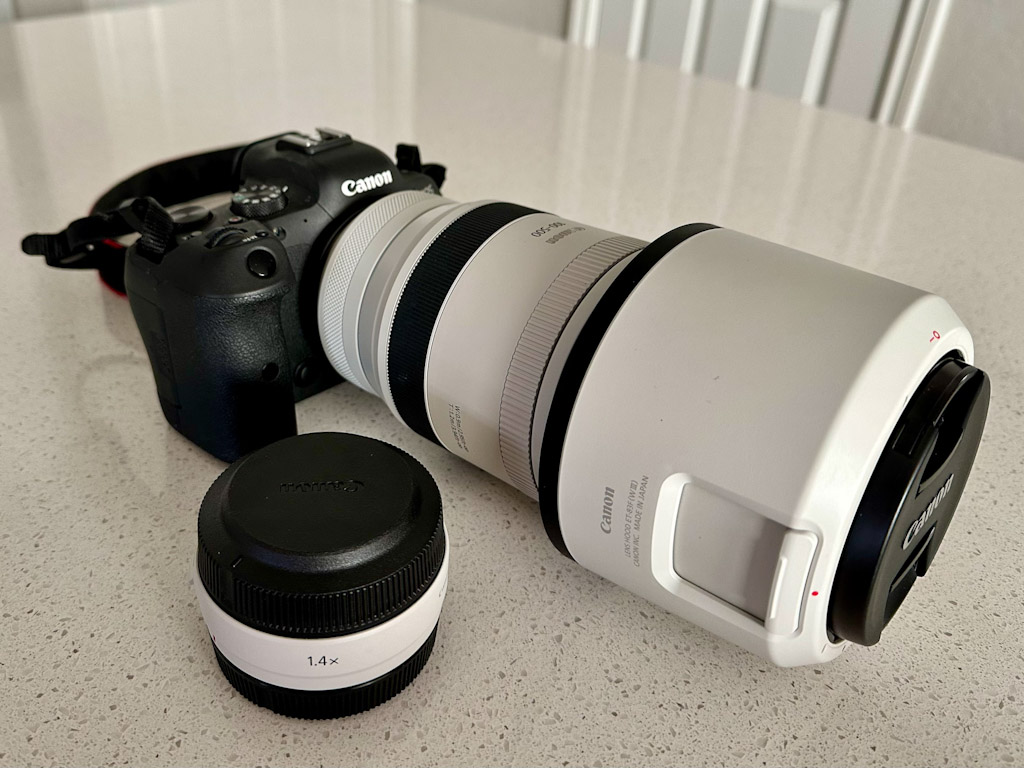
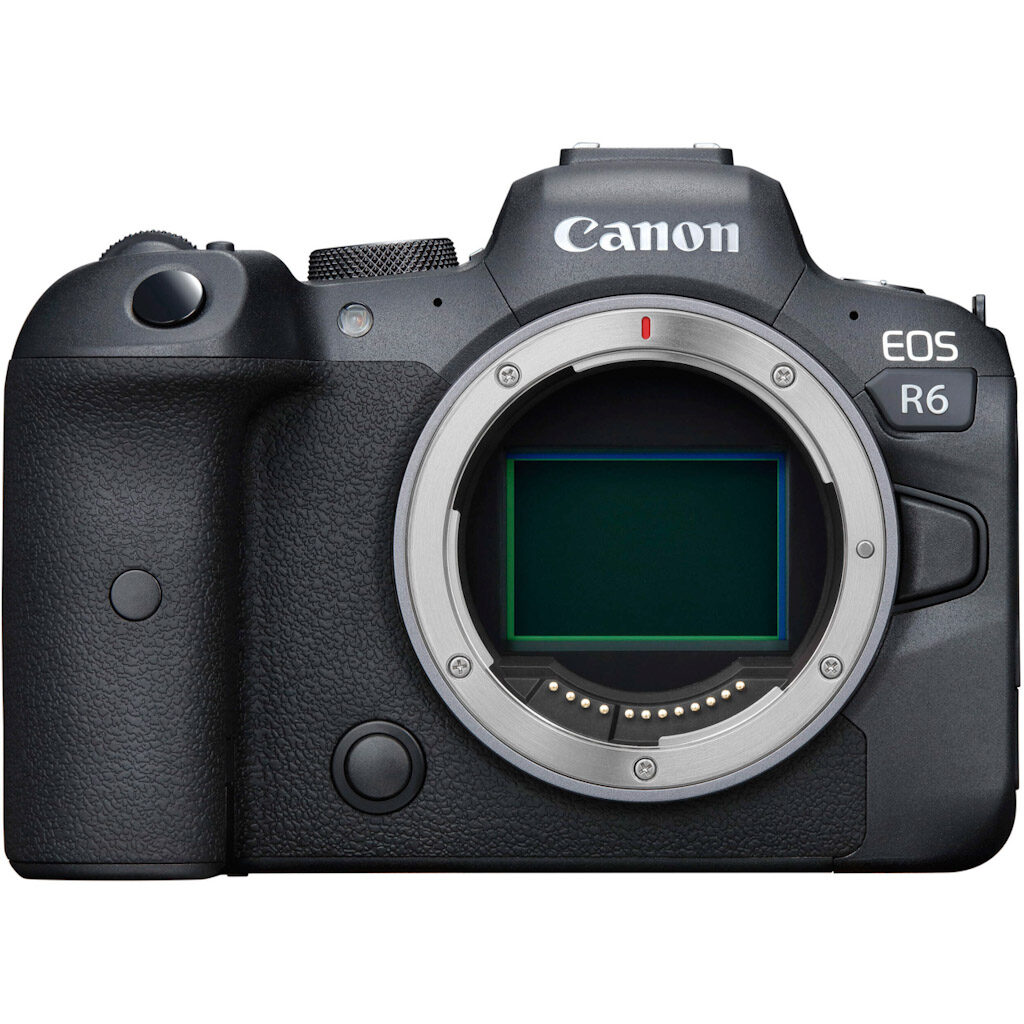
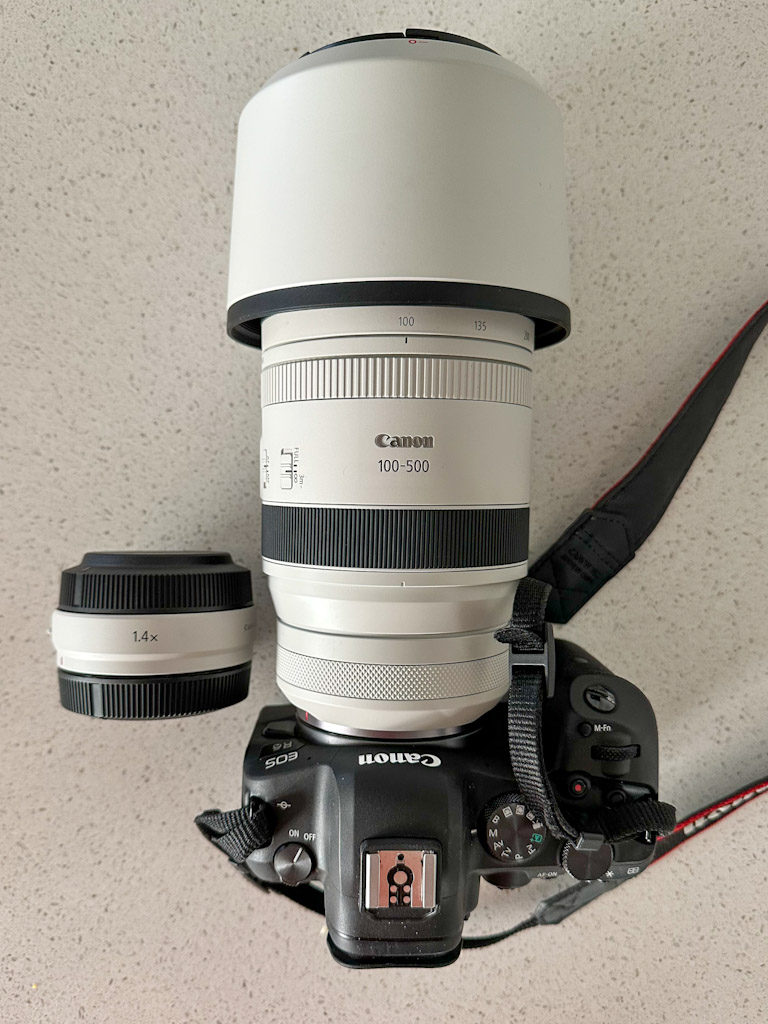
| Camera | Canon EOS R6 |
| Lens | RF 100 – 500mm F4.5-7.1 L is USM |
| Teleconverter | RF 1.4x Extender Teleconverter |
The camera
Canon EOS R6
Why I chose it
In Canon’s mirrorless lineup, I chose the R6 because I didn’t need the added megapixels offered by the pricier R5.
Favorite features
- Animal Eye Autofocus – The camera has a mode that detects animals and locks the focus on the subject’s eye. It works amazingly well.
- Focus anywhere – I love not being limited to specific focal targets on the viewfinder
- Electronic Viewfinder (EVF) – This mirrorless camera has a small OLED screen in the viewfinder. The benefit of this over a DSLR is that what you see in the viewfinder is what the image captured will look like. This enables you to adjust camera settings and see the results in realtime.
- In-body Stabilization – Helps reduce shake and improve sharpness.
The lens
RF 100-500mm
Why I chose it
Coming from a 400mm prime EF lens, I was looking for a bit more reach and versatility. The 100-500mm RF lens hits the sweet spot. One of the reasons I chose it, other than the superior image quality, is the in-body stabilization. This works in concert with the stabilization in the R6 camera body. I love this for video and when shooting on the wide end of the zoom.
Favorite features
- Customizable function ring that can be assigned to various settings
- Sharpness across entire zoom range
- In-body stabilization
The teleconverter
RF 1.4 Extender Teleconverter
Why I chose it
Birds are almost always small and far away. This recent addition to my setup gives 40% further zoom to every shot. It has a downside of letting less light into the camera and restricting the zoom range of the camera. It’s easy enough to pop on and off as needed.
Favorite features
- No learning curve or large adjustment needed to benefit
- Passively enlarges your shots
- Compact and easy to add or remove
Also see: My Gear Setup for Birdsong Recording


We just purchased the Canon R7 to replace our Canon Rebel Ti5 and look forward to wildlife/bird photography with it!
For the Ti5, what settings are possible to make the best of birding photography with the camera I have been using for years!
Hi Tina,
If you’re not already shooting in Manual on your camera, I would consider this as a good next step to getting the most out of the current T5i. I shoot in Manual and mostly just adjust the shutter speed as needed in the field. The ISO is left on Auto and the aperture is left wide open. There are a bunch of YouTube videos that can suggest specific settings for bird photography on this camera, some of it comes down to personal preference.
I remember when I had that camera, the one thing that I preferred was to set the focus point as the center, rather than let it auto-select the focus point. It might be my imagination, but it seemed to be quicker to find focus this way, and most of the time the bird is in the center anyway.
It’s really exciting you are getting to use the new R7 camera. It’s going to be such a treat. The thing I love most about the camera is the view through the viewfinder. I love that it reflects what the final photo will look like. This has helped so much in learning how changing the various controls on the camera affects the final image.
Jeff