You’ve taken lots of photos of birds by now, selected the best ones, and now you’re ready for what comes next: printing bird photos!
There is a gratification that comes from holding and looking at physical copies of your photos that you will never get seeing them displayed on a computer monitor. Once you have shot many pictures, selected the best, and edited the photos, it’s time to think about printing some to frame and display in your home or office.
Mindful Cropping (or re-cropping!)
The most common sizes you will be printing at are 4×6, 5×7, and 8×10. One lesson I learned recently is how important cropping or re-cropping your image according to the aspect ratio of your print size is. The aforementioned three standard sizes are not all created equal. There are subtle differences in the width to height ratio of each. If you fail to crop your images with the print size in mind, your image will be cropped automatically when printed. This will often clip your feathered subject or other important parts of the image off. I learned this the hard way after printing a handful of photos, only to find that every image was cropped. It ruined the aesthetic of several pictures!
Go big or go small
You’re going to want to look over your selected bird photos and decide on how large you want to print each one. Keep in mind that the smaller your print a photo, the closer people are going to be standing and looking at them. If you print poster-sized, for example 27″ by 40″, onlookers will stand several feet away from it. If the PPI of that image isn’t 300 (like it ideally would be at the three smaller sizes listed above), it won’t matter as much. Smaller prints are often held in hands or looked at up close, so printing images that are close to 300 PPI will ensure that they look crisp and beautiful.
Resolution (PPI)
The tighter you crop an image, the smaller the total resolution of the end image is going to be. So keep this in mind, and check the actual dimension your images before you select which size to print them at. What is PPI? PPI = pixels per inch. The higher number of pixels per inch the sharper it will look after it’s printed.
 For example, let’s use the following few photographs to clarify things:
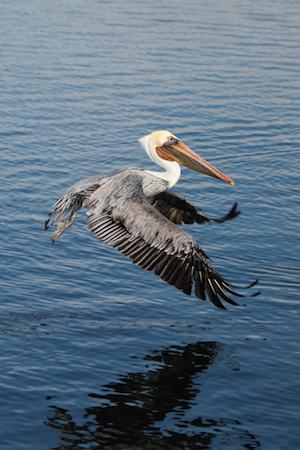
This Brown Pelican photo on the left that I took at Bolsa Chica is 2719 x 4078 resolution. I printed this image poster-sized at 27 inches by 40 inches. You can calculate the PPI of the image by taking the number of pixels wide divided by how many inches wide the print will be—do the same for the height. Using that calculation, the print will be roughly 100 pixels per inch. While this is not quite as high as 300PPI, it doesn’t matter!
As I mentioned before, people will be standing further from a large poster when looking at it, so a high PPI isn’t as important. This distance rule is taken to an extreme on things such as billboards. If you were to look at a billboard up close, you would notice that it has lots of gaps between the dots and it looks soft up-close, but when viewing it from the road it will look nice and sharp. Use this to your advantage if you print photos at a large size. A 27×40 poster doesn’t require an image at 300PPI (unless your camera shoots images that large, then go for it!).

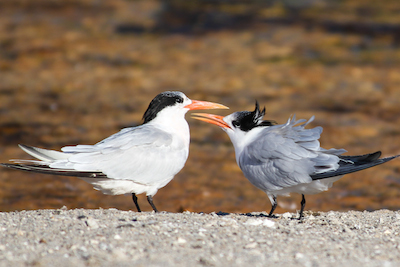
This photo to the right of a couple of Royal Terns is 2878 x 1919 resolution. I printed this photo at an 8×10 size, and that put the print at about 290PPI when printed. Since this is a smaller print, it should be as close to 300PPI as possible so the print looks clean and sharp.

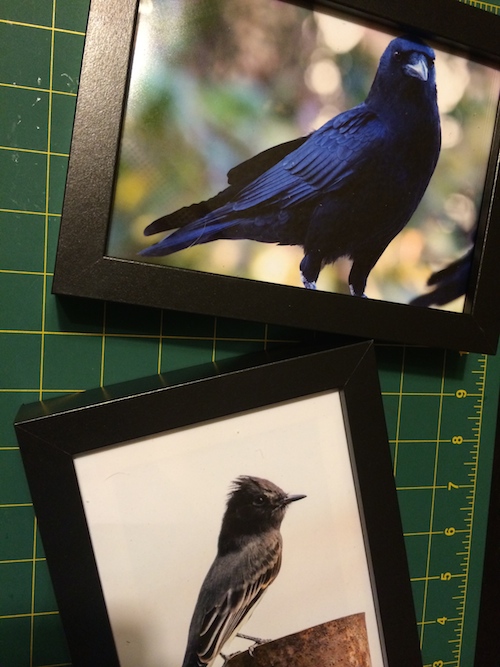
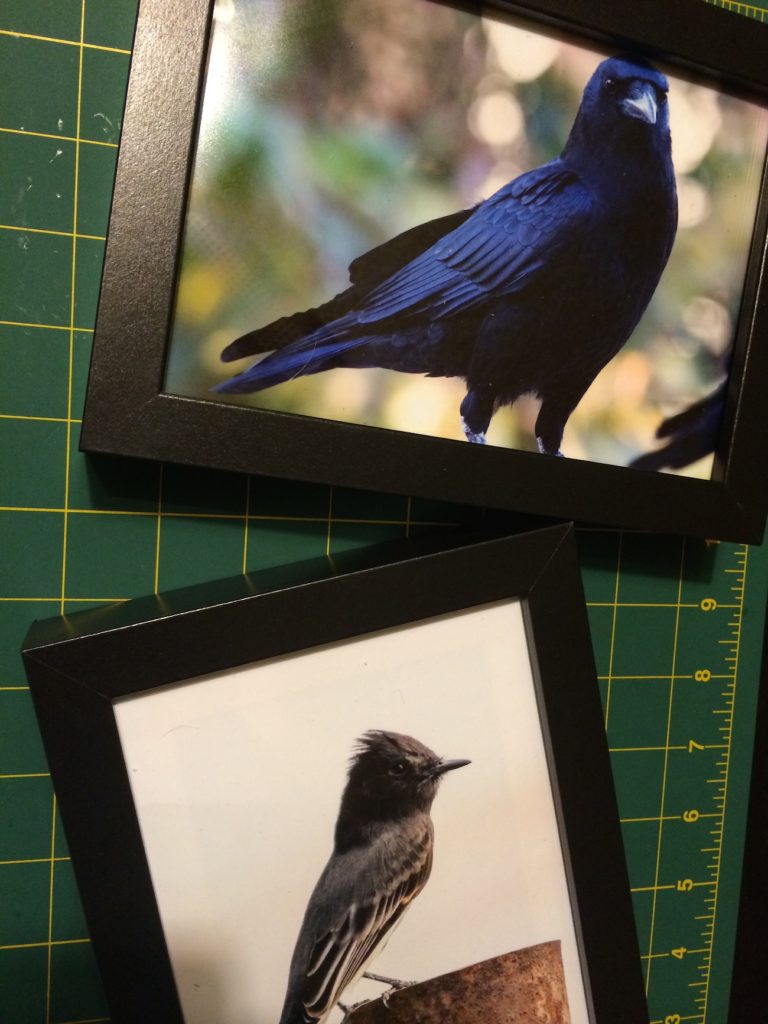
On the left, are a couple of recently-framed pictures of mine. Due to the high PPI at that size, they look sharp and will be hung next to the large pelican print on my wall. The next thing on my to-do list is to to frame a bunch of prints with white mats on them. Framing your prints with mats can give your photos a nice classy, gallery look to them. Try it out.
Do you frame your photos with or without mats? Do you have any large prints that you are proud of? Show ’em off!
Where to print
There are many options online and in person for printing images. Adoramapix (linked above), Shutterfly, GotPrint, Vista Print, are a handful of popular online options. Walgreens, Staples and Walmart are easy-to-find local places that offer photograph printing services. You will be sure to find other local small businesses that offer printing in your city as well. Keep the above tips in mind so you know which printing options are suitable to compare prices with and what service will suit your needs best.
Happy printing!
